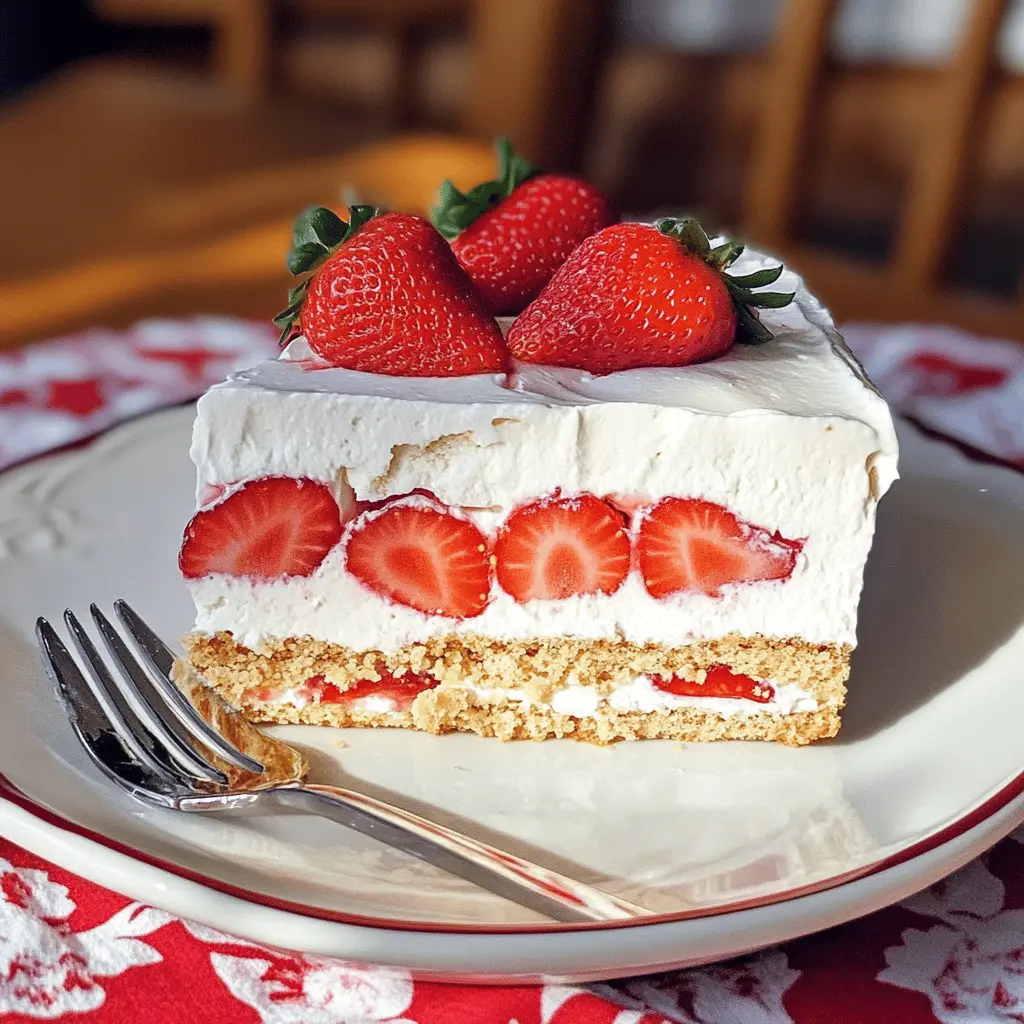
This Strawberry Icebox Cake is the ultimate treat for hot days! With layers of fluffy whipped cream, sweet strawberries, and crunchy cookies, it’s a light and refreshing dessert.
I love how simple it is to make—just layer and chill! Plus, who can resist the combination of fresh strawberries and creamy goodness? It’s like summer on a plate! 🍓
Key Ingredients & Substitutions
Strawberries: Fresh strawberries are key for this recipe! If you can’t find ripe strawberries, feel free to use mixed berries like blueberries or raspberries. They add a nice tartness and color, but strawberries do give that classic look.
Heavy Cream: The heavy cream gives the dessert its richness. You can substitute it with coconut cream for a dairy-free option, or use a lower-fat cream for a lighter version, though it may not whip as well.
Powdered Sugar: This sugar is perfect for sweetening the whipped cream. If you prefer, you can use regular granulated sugar, but you may need to whip it longer to dissolve properly. Powdered sugar is just easier!
Cream Cheese: Cream cheese gives that creamy texture. If you’re looking for a lighter option, try using ricotta cheese instead. It won’t be as rich but still delicious.
Graham Crackers: They add a crunchy layer to the cake. If you need a gluten-free option, use gluten-free graham crackers or even crushed Oreos for a different flavor twist!
How Do I Make Sure My Whipped Cream is Perfect?
Whipped cream can be a bit tricky, but it’s all about temperature and technique. Start with cold heavy cream and a chilled bowl for best results. Here’s how to do it:
- Chill your mixing bowl and beaters in the freezer for about 10 minutes.
- Pour the cold heavy cream into the bowl and start mixing on low speed to combine.
- Once it starts to thicken, gradually add powdered sugar and vanilla.
- Increase the speed and whip until stiff peaks form. Be careful not to over-whip, as it can turn buttery!
Getting this step right gives your cake that light, airy texture. Perfect for layers!
How to Make Strawberry Icebox Cake (No Bake)
Ingredients You’ll Need:
For the Cake:
- 2 pounds fresh strawberries, hulled and sliced
- 8 ounces cream cheese, softened
- 1 cup sour cream
- 1 teaspoon lemon juice
For the Whipped Cream:
- 1 cup heavy cream
- 1 cup powdered sugar
- 1 teaspoon vanilla extract
For the Layers:
- 1 package (14 ounces) graham crackers
How Much Time Will You Need?
This delicious no-bake strawberry icebox cake requires about 20 minutes of preparation time, plus chilling time of at least 4 hours (or overnight) to set properly. It’s quick to assemble, and the long chill ensures a delightful treat!
Step-by-Step Instructions:
1. Whip the Cream:
Start by pouring the heavy cream into a medium bowl. Using an electric mixer, whip the cream on medium speed until soft peaks start to form. Gradually sprinkle in the powdered sugar and add the vanilla extract. Continue mixing until stiff peaks hold. This fluffy whipped cream is what makes the cake so light and airy!
2. Prepare the Cream Cheese Mixture:
In another bowl, take the softened cream cheese and beat it until it’s nice and smooth. Then, add the sour cream and lemon juice to the mix. Use the electric mixer again to blend everything together until fully combined. This creamy mixture is going to be layered in the cake!
3. Combine the Mixtures:
Gently fold the whipped cream you made earlier into the cream cheese mixture. Do this slowly so you don’t deflate the whipped cream; you want a smooth, creamy blend that will taste amazing.
4. Layering the Cake:
Grab your 9×13 inch dish and start the layering process. Begin with a single layer of graham crackers at the bottom of the dish. Next, spread one-third of your cream cheese mixture over the crackers, smoothing it out evenly. Then, add a refreshing layer of sliced strawberries on top of the cream cheese layer.
5. Repeat the Layers:
Repeat the layering process two more times: graham crackers, then cream cheese mixture, and finally more strawberries. You’ll create a lovely tower of creamy goodness and fruity flavor!
6. Final Touches:
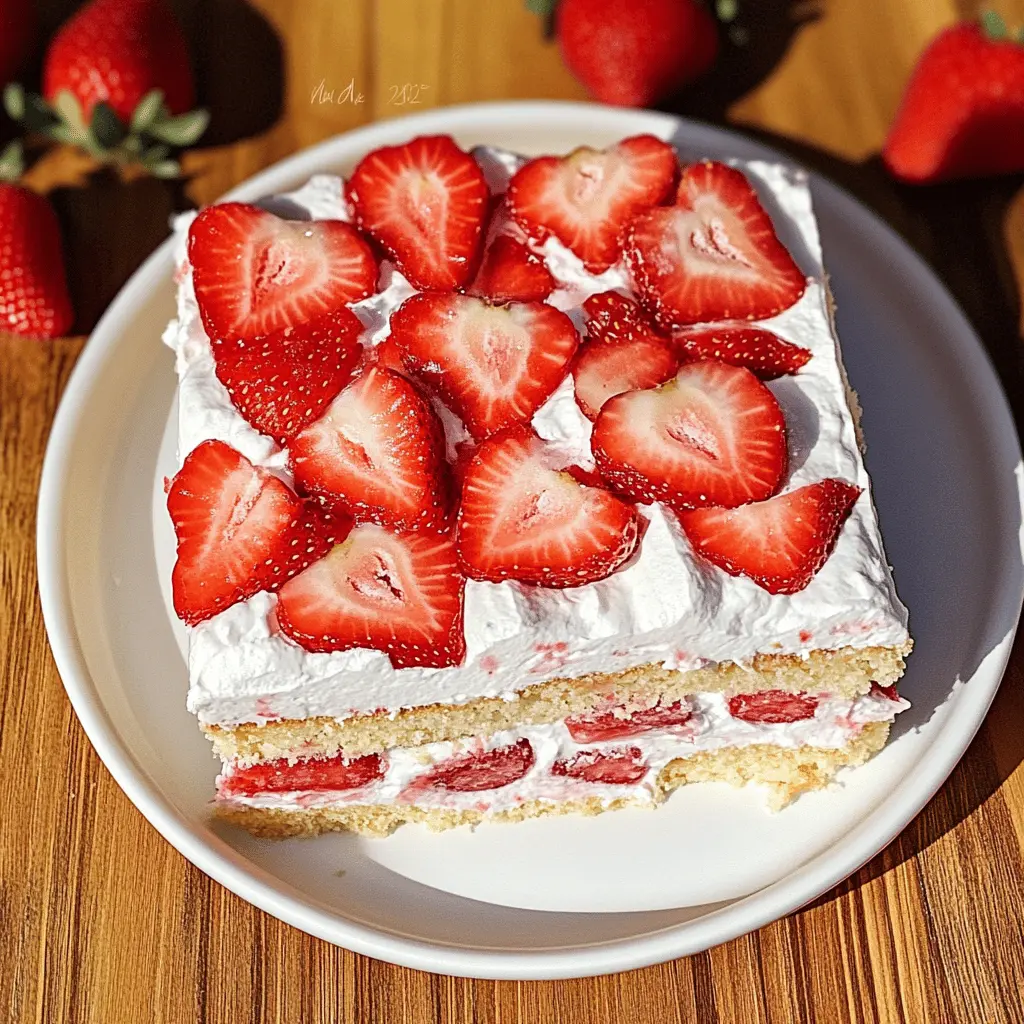
To finish your icebox cake, spread a final layer of whipped cream on top. Reserve any leftover strawberries to garnish the top as well. This will make your cake look pretty and inviting!
7. Chill and Serve:
Cover the dish with plastic wrap and place it in the refrigerator. Let it chill for at least 4 hours, or overnight if you can wait that long! This allows all the flavors to meld together wonderfully. When you’re ready to serve, slice the cake into squares and enjoy your refreshing dessert chilled!
Can I Use Frozen Strawberries Instead of Fresh?
Yes, but fresh strawberries provide the best flavor and texture. If using frozen, be sure to thaw and drain them well to avoid excess moisture in your cake. Pat them dry with paper towels before layering.
What Can I Substitute for Sour Cream?
If you don’t have sour cream, you can use Greek yogurt as a great substitute! It will give a similar tanginess and creaminess. Just use the same amount as called for in the recipe.
How Long Will This Icebox Cake Last in the Fridge?
This Strawberry Icebox Cake can be kept in the fridge for up to 3 days. Be sure to cover it tightly with plastic wrap to maintain its freshness and prevent it from absorbing any odors from the fridge.
Can I Make This Cake Without Cream Cheese?
Absolutely! You can replace the cream cheese with a non-dairy alternative like cashew cream or silken tofu blended until smooth. This will slightly change the flavor but still yield a delicious no-bake cake!